Microsoft Planner Filters let you see the trees from the forest
Most Microsoft Planner users never discover the powerful filtering and grouping combinations that can transform how you visualize and manage your projects.


If you're using Microsoft Planner's default views, you're missing out on ways to analyze and manage your projects. The filtering and grouping capabilities in Planner can improve how you visualize work and ultimately make decisions about the work. This post walks you through the techniques that a lot of users may never discover. But first, a couple of notes from the week.
Welcome Karis from Massachusetts to my adventure. You're the newest member of this little club of Planner folk. Thank you for joining!
Something embarrassing happened at work this week related to filters. I spent several hours one day working with the leaders to get our project setup in Planner. We documented our work policies in Loop including how we will use labels and buckets. Later that day, I changed the Team that the schedule was assigned to, looked at our plan, and all of the tasks were gone! I thought I'd accidentally deleted the entire schedule as a side effect of the Teams change.
In my defense, I was exhausted after working 10 hours. In a moment of panic I sent a Teams message to the Sr. Program Manager apologizing for messing up. I also called another collaborator who was online to let her know about my mistake. As I was talking to her on Teams, I realized that I'd filtered the schedule and none of the tasks were showing up 🤣. Moral of the story? Take breaks and check if filters are set!
This week Claude.ai was not useful in creating initial content for this post. Most of its suggestions were wildly incorrect when I tested them and that wasted lot of time. Moral two? Write first, AI second.
OK, now the main topic: filters in Planner.
Beyond Basic Filtering
Most Planner users know about the basic filtering capability accessible from the filter icon, but few may know their full potential.
Creating Filter Combinations
Planner allows you to apply multiple filters simultaneously. Here's how:
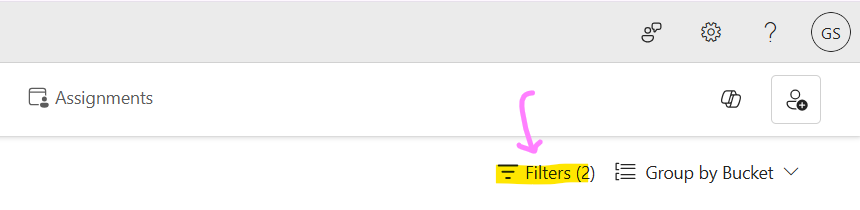
- Click
Filters (0)top right of the window. - Select a primary filter criteria e.g.,
Assigned to. - Without closing the filter menu, choose another criteria e.g.,
Finish date. - Continue adding criteria until you've built your desired filter.
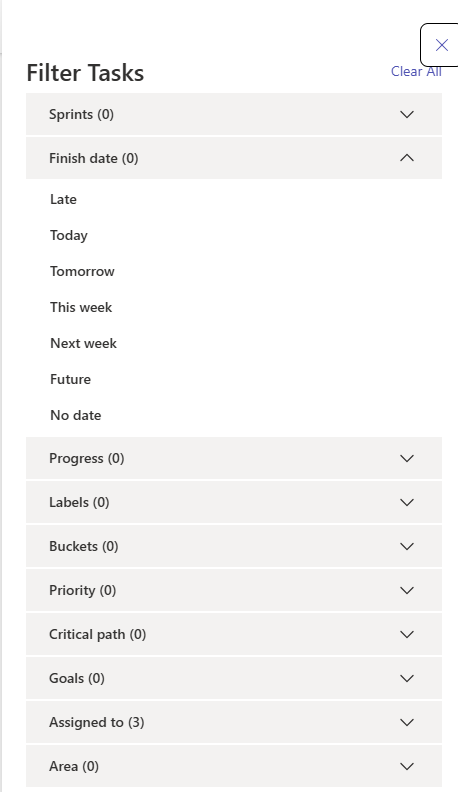
Below is a screen shot of the "Filter Tasks" pane that appears. You can collapse and expand sections but you can't re-arrange them. That said, one good thing is that this pane stays up as you try out different filters. You can close the Filter Tasks pane with the green "x" in the top right.
Here's an example set of filters:
- Tasks
Assigned tome (my name) - With
Finish date(due date) set to "This week" - And
Labelsset to "Development" - And
Priorityset to "Important" and "Urgent"
This combination quickly shows you the high-priority development work that you need to complete this week.
Using Date Filters
Date filtering is very useful and here are some things you can do:
- Late Tasks: Filter for items where
Finish dateis "Late" - Today's Focus: Set
Finish dateto "Today" and "This week" - Planning Window: Set
Finish dateto "Future" to see upcoming work - Neglected Tasks: Find tasks where
Progressis "Not started" andFinish dateis "Next week"
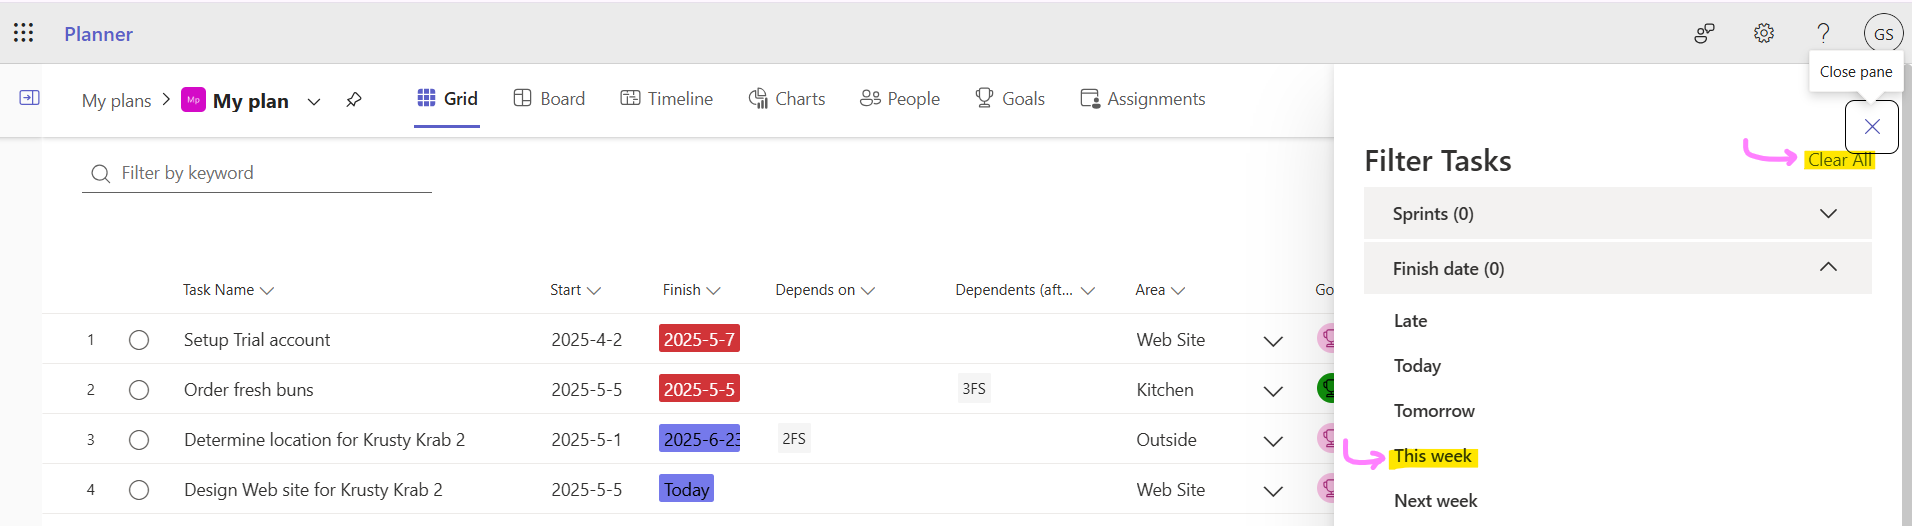
Note the Clear all button, that one is important as my panic moment taught me.
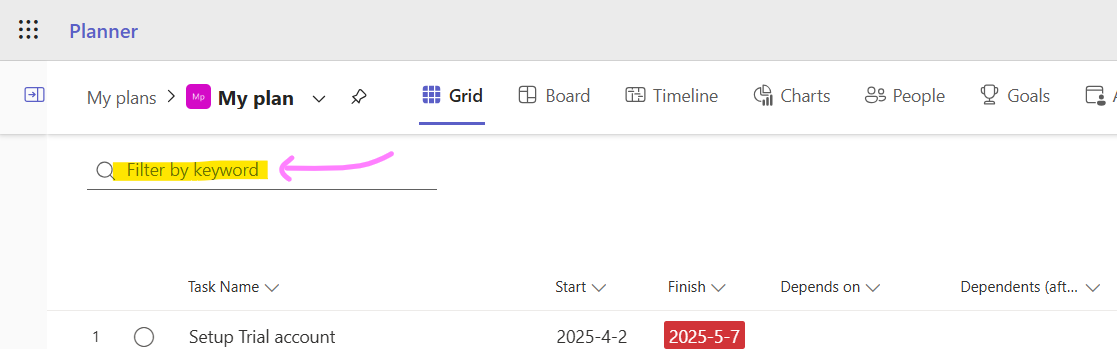
Filter by Text
The search box in Filter Tasks functions as an additional filter:
Text filtering is really fast but...
#shame!I wish there was a way to shrink or resize that "Filter Tasks" pane.
Claude suggested a Pro Tip: which I don't like:
"Establish a team convention for certain prefixes in task titles to make text filtering more powerful."
I don't recommend overloading task titles with other information. Instead, use a Custom Field and define some preset menu values. This way your data will be standard across the schedule and will be easier to query.
Grouping Tasks by Multiple Criteria
Grouping can provide insights that basic filtering misses.
When you look at data in different ways, insights often happen and outliers become clear. For example, when I PDF a blog post, I notice errors that I didn't see. I find the same thing happens when I group and filter Tasks in Planner.
Filters work in each of the Planner views which is quite nice.
Grouping in Board View
In Board view, the primary grouping is by bucket which makes sense. You can also do the following:
- Status-Based Buckets: The standard To Do, In Progress, Done approach.
- Priority Order: Arrange tasks in priority order from top (high) to bottom (low), this is the Kanban board way.
- Finish Date Order: Arrange chronologically within each bucket
- Label Clusters: Group the same-colored labels together for visual scanning. I really like this feature to see related work.
Grid View Grouping
You can also group tasks in Grid view:
- Group tasks by assignee to see individual workloads.
- Look for overlapping tasks that might cause conflicts.
- Identify gaps were additional work can be accomodated.
- Color-code with labels to see distribution of work types across time.
Charts View Custom Groups
In Charts view you can do th following:
- Switch between grouping by bucket, assignee, and progress.
- Look for patterns across different groupings:
- Which buckets have the most overdue tasks?
- Which team members have the most unstarted tasks?
- Which labels are associated with the most completed tasks?
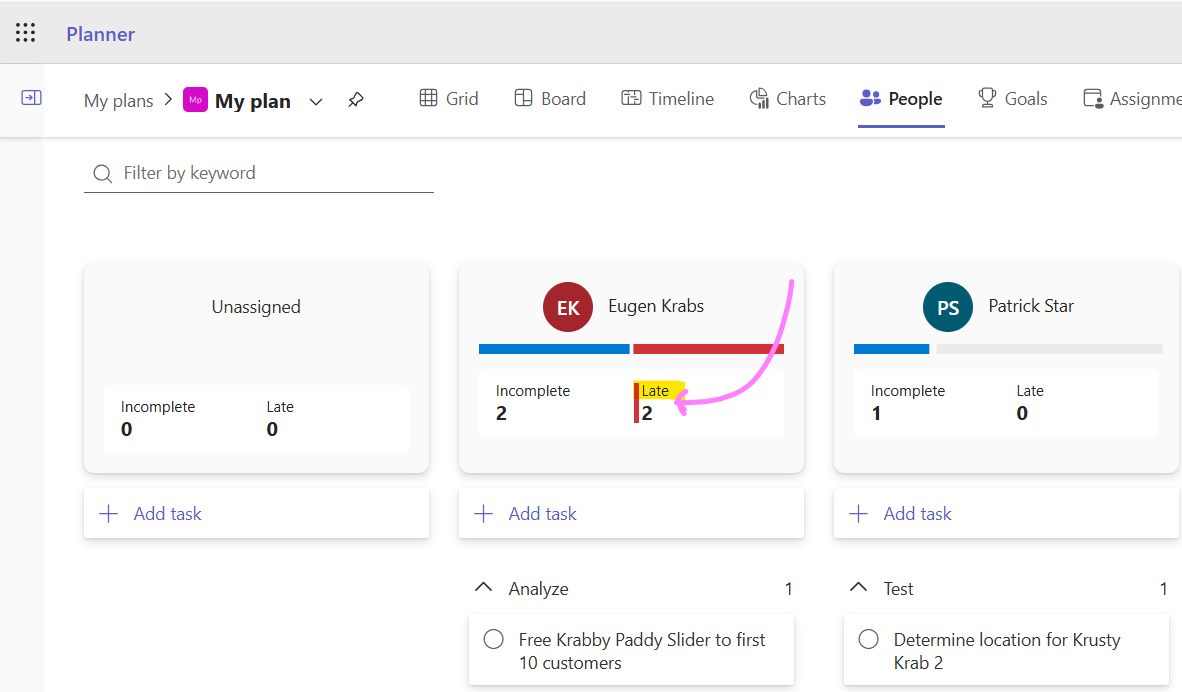
People View
Finally, there's the People view and this is one of my favorites since you can see the tasks assigned to each person.
Something I learned this morning is that you can click on Incomplete or Late in a card to further filter the view. That is a nice touch, +1 for Microsoft.
Balancing the Work
Overburdening of people is a real issue and Planner, if kept up-to-date, can help you see where specific team members are overloaded. Using the People view is a great place to start but you can also filter in the Grid view, Board view, or get some stats in the Chart view.
- Filter by
Assigned tofor each team member - Compare workload volume and target finish dates
- Look for opportunities to redistribute tasks.
- Look for specialists who might be overbooked.
- Unassign work if it's too far out so that team members don't stress about the future work that could, in fact, be performed by someone else.
Not to end my post on a Debbie Downer moment but there's still work left for Microsoft to do on this tool.
No soup for you!
The downside to Microsoft's current implementation of filters? There's no way to save your filters. The filters persist as you switch between views such as Grid view or Board view but you can't bookmark them for use in future sessions.
This is a big gap if anyone from the Microsoft Planner product team reads this post. I haven't found a simple workaround for this and Claude.ai suggested that I could create a Power app. What?!? No, this is something Planner should do out of the box. If I'm wrong, please let me know!
Conclusion
Filtering and grouping Tasks in Microsoft Planner shines a flashlight on your project and the work being performed. While the user interface may seem simple, combining these two techniques creates insights that will help you and your teams.
Start with one technique from this post, integrate it into your workflow, and then gradually add more as your team becomes comfortable. Soon, you'll wonder how you ever managed projects without these filtered insights.
That's it! Until next time, stay safe and keep planning!